Packsaddles
This may seem like an odd topic, but I have to tell you it’s the one I spend an inordinate amount of time on. You see, these saddles are basically the intermediary between an immovable object (the packs) and an unstoppable force (the mules). Something has got to give – and that’s usually the pack saddle.
Packsaddles have been used in this part of the country since the fur trappers and gold diggers were exploring. There are only about two types used anymore. They are the sawbuck and the decker. The sawbuck is an older design, following a fairly direct lineage to the original pack trains used by fur trappers and the earliest explorers. They look like an “X” with the top of the “X” being the visible part that the packs get lashed with. The bottom of the “X” is attached to the saddle “tree”, which are two curved boards that sit on the mule’s back. A saddle blanket provides cushion between the tree and the mule. The sawbucks are most commonly used in Wyoming.
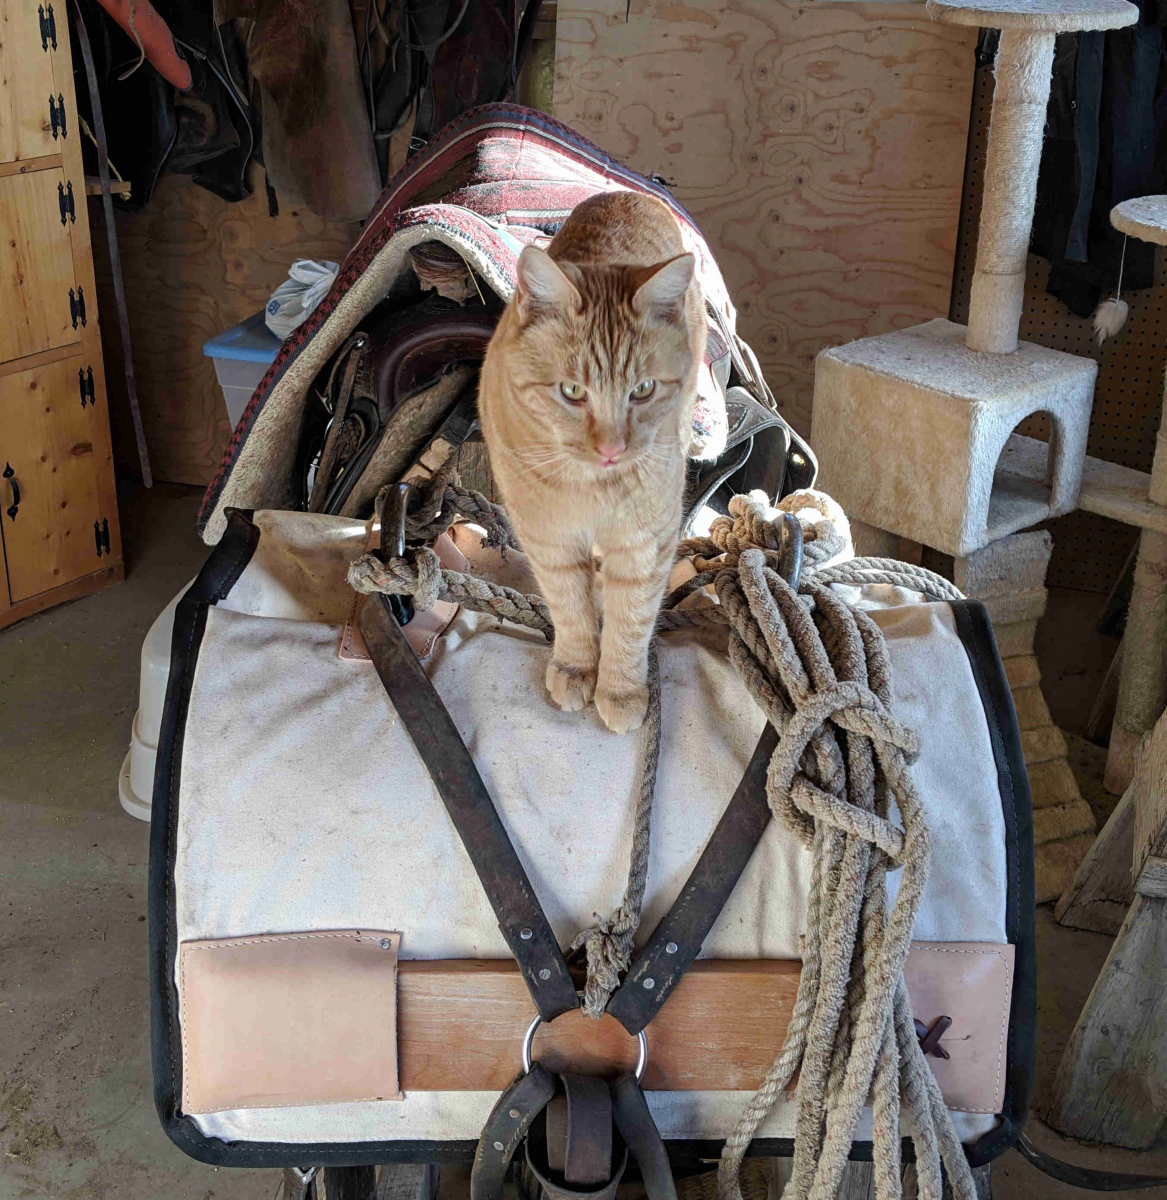
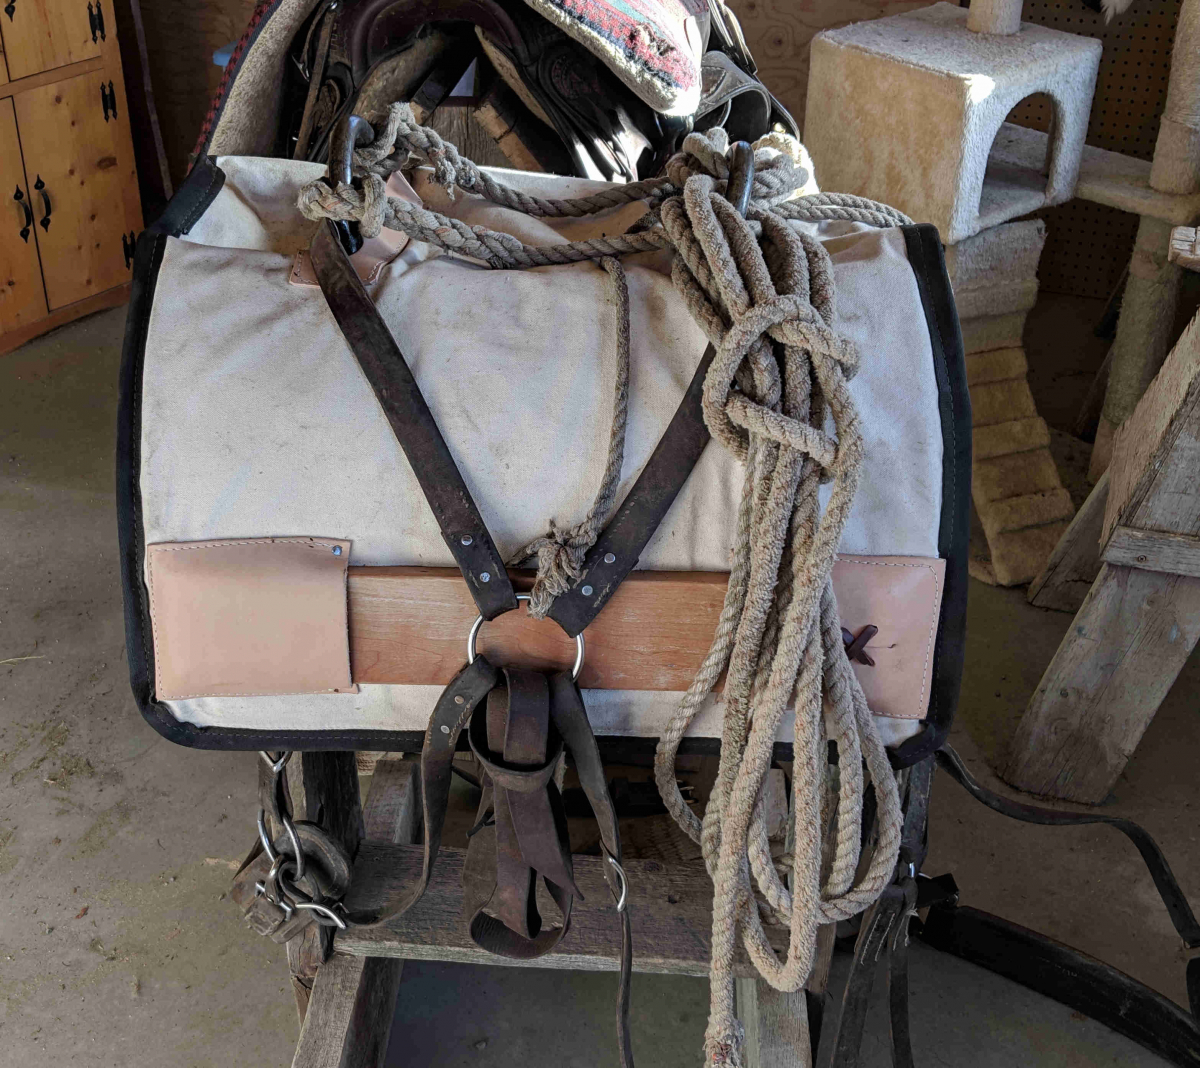
We use the other type, called “decker” saddles. These saddles have an upside down “D”, where the curved part of the “D” is facing up and the downside is attached to the saddle tree. The curved part will have ropes on either side of the saddle, which is used to lash the packs to the saddle. These are widely distributed in Colorado and Idaho and Montana. I’ve not heard a good explanation why certain geographic areas tend to use a saddle type predominantly. I’ve used both, and each has its strengths. We use deckers as I think they are more versatile. I like the flexibility of having many options for lashing loads. We pack panyards and manty loads (bundled) and both are readily lashed to a decker saddle.
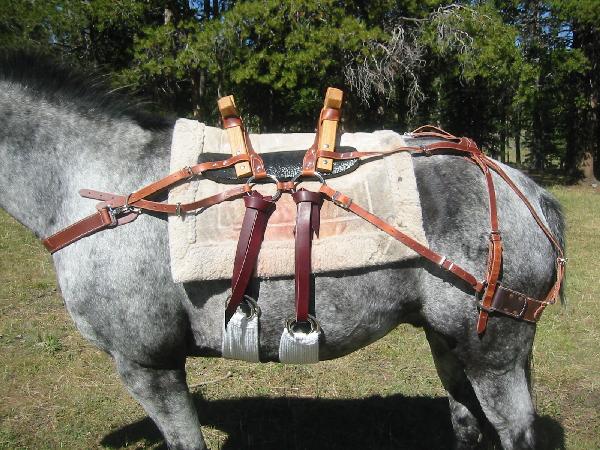
Now, why all the fuss about packsaddles? Well, it turns out these things are highly customizable and we fit them very precisely to a particular animal. Things like weight, depth of girth, length, chest size, and curvature of back are important to fitting the saddle very precisely to the animal. The saddle cannot be too tight or it will rub the hair off the hide and sore the animal. However, it cannot be too lose either lest it slide too far forward (going downhill) or backward (going uphill) – we do a lot of both out here – and in either case it will seriously sore the animals withers, chest, or back. So it’s got to be a nice snug fit with just enough room to allow animal movement.
Over the course of a season these saddles are subjected to any number of mishaps, which exposes them to extreme duress. Mules hit trees with their packs, or buck the packs off going downhill, or jump over logs and get their packs stuck in between trees, or the packs roll off the side of the animal and down steep side hills….. you get the picture. In all of these events, and less dramatic ones, the saddle takes abuse. Straps break, buckles snap, stitching and rivets fail, latigos fatigue, halfbreed covers rot, etc. We often have to cobble fixes together on the mountain side or on the trail just to get to camp. Then, we can fix it a little better to get us through the rest of the trip.
However, it’s not until the season is done that I can go through each individual saddle and look at each strap, hook, sidebar and stitch to determine its state of usefulness and if it needs replacement. As a result of this annual process, our saddles have basically been entirely rebuilt many times in their lifetime. I suspect most of our packsaddles are 70-80 years old! I just keep replacing the broken parts and they are serviceable again for the coming season. I kind of enjoy this work, as I like working with leather and wood (the two main components to a pack saddle) however we have 30 of them so it can take me quite a while to go through them all. However, in my nice warm fire in the woodshop with my shop-cat helper Milo, it sure beats being outside in on a cold day and 30mph winds.